
Subaru inner fenders
Our 2015 Subaru Forester had a problem with its inner fenders, just 12 miles of rural Alberta roads round trip, nothing out of the ordinary; the Wife assures me she has not been out practicing extreme rally racing.
The dealership replaced the first set out of their own pocket. In the Spring they were broken again. Since we were not happy with the lifespan of the liners, we were sent up the ladder to Subaru chief cheese in charge of warranty.
According to Diana | Assistant Manager, Customer Experience Subaru Canada, Inc. - this is not a warranty item as "Stone chips on painted surfaces are not covered."
Hmm... on visual inspection this looks neither like a stone chip or a painted surface.
She then responded with "Rest assured that we have thoroughly investigated your concerns. It is regrettable that you feel that your concerns have not been addressed appropriately by Subaru Canada"
(funny that Subaru never even asked for a pic?)
Sadly Subaru has ceased to respond to my correspondence.
So other than:
a) ugly,
b)ejecting material at other road users
c) completely failing at their function,
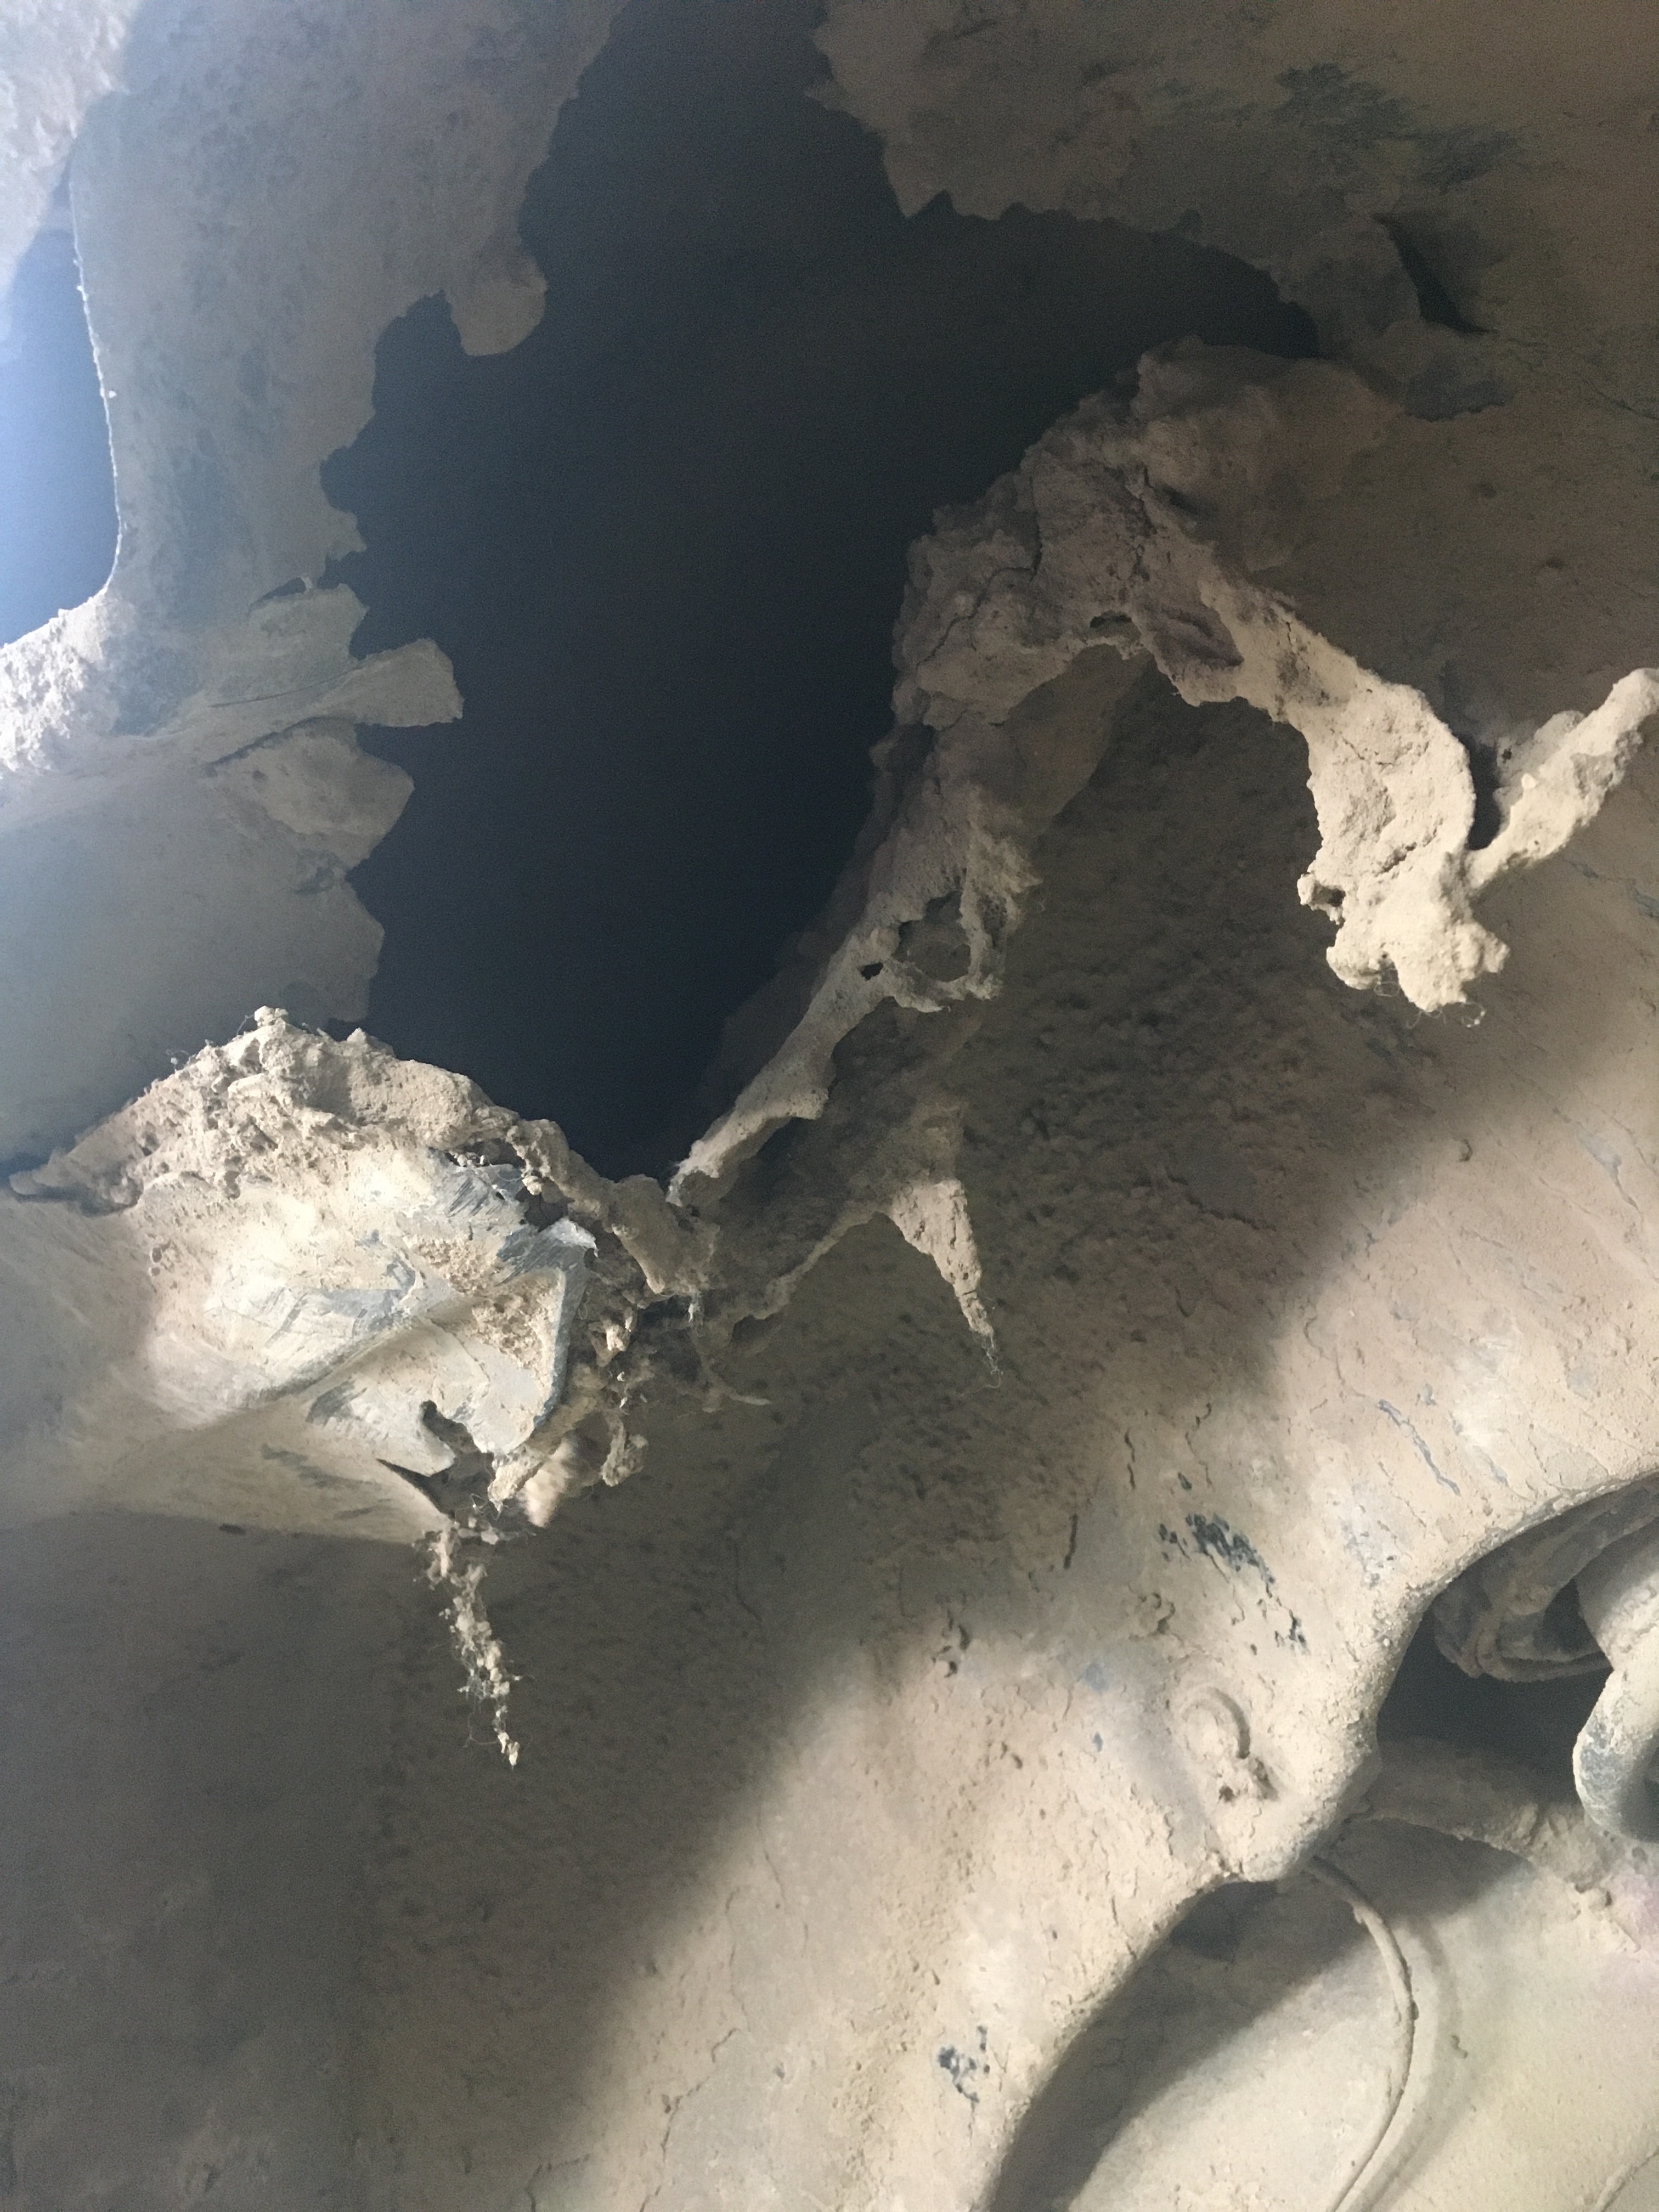
The only other problem I have is the the vent for emmisions is located under the liner at the right rear wheel.{ You can see it now}
 .
.If you sat and thought about it,wouldn't that suck up a lot of dirt...wait for it.....
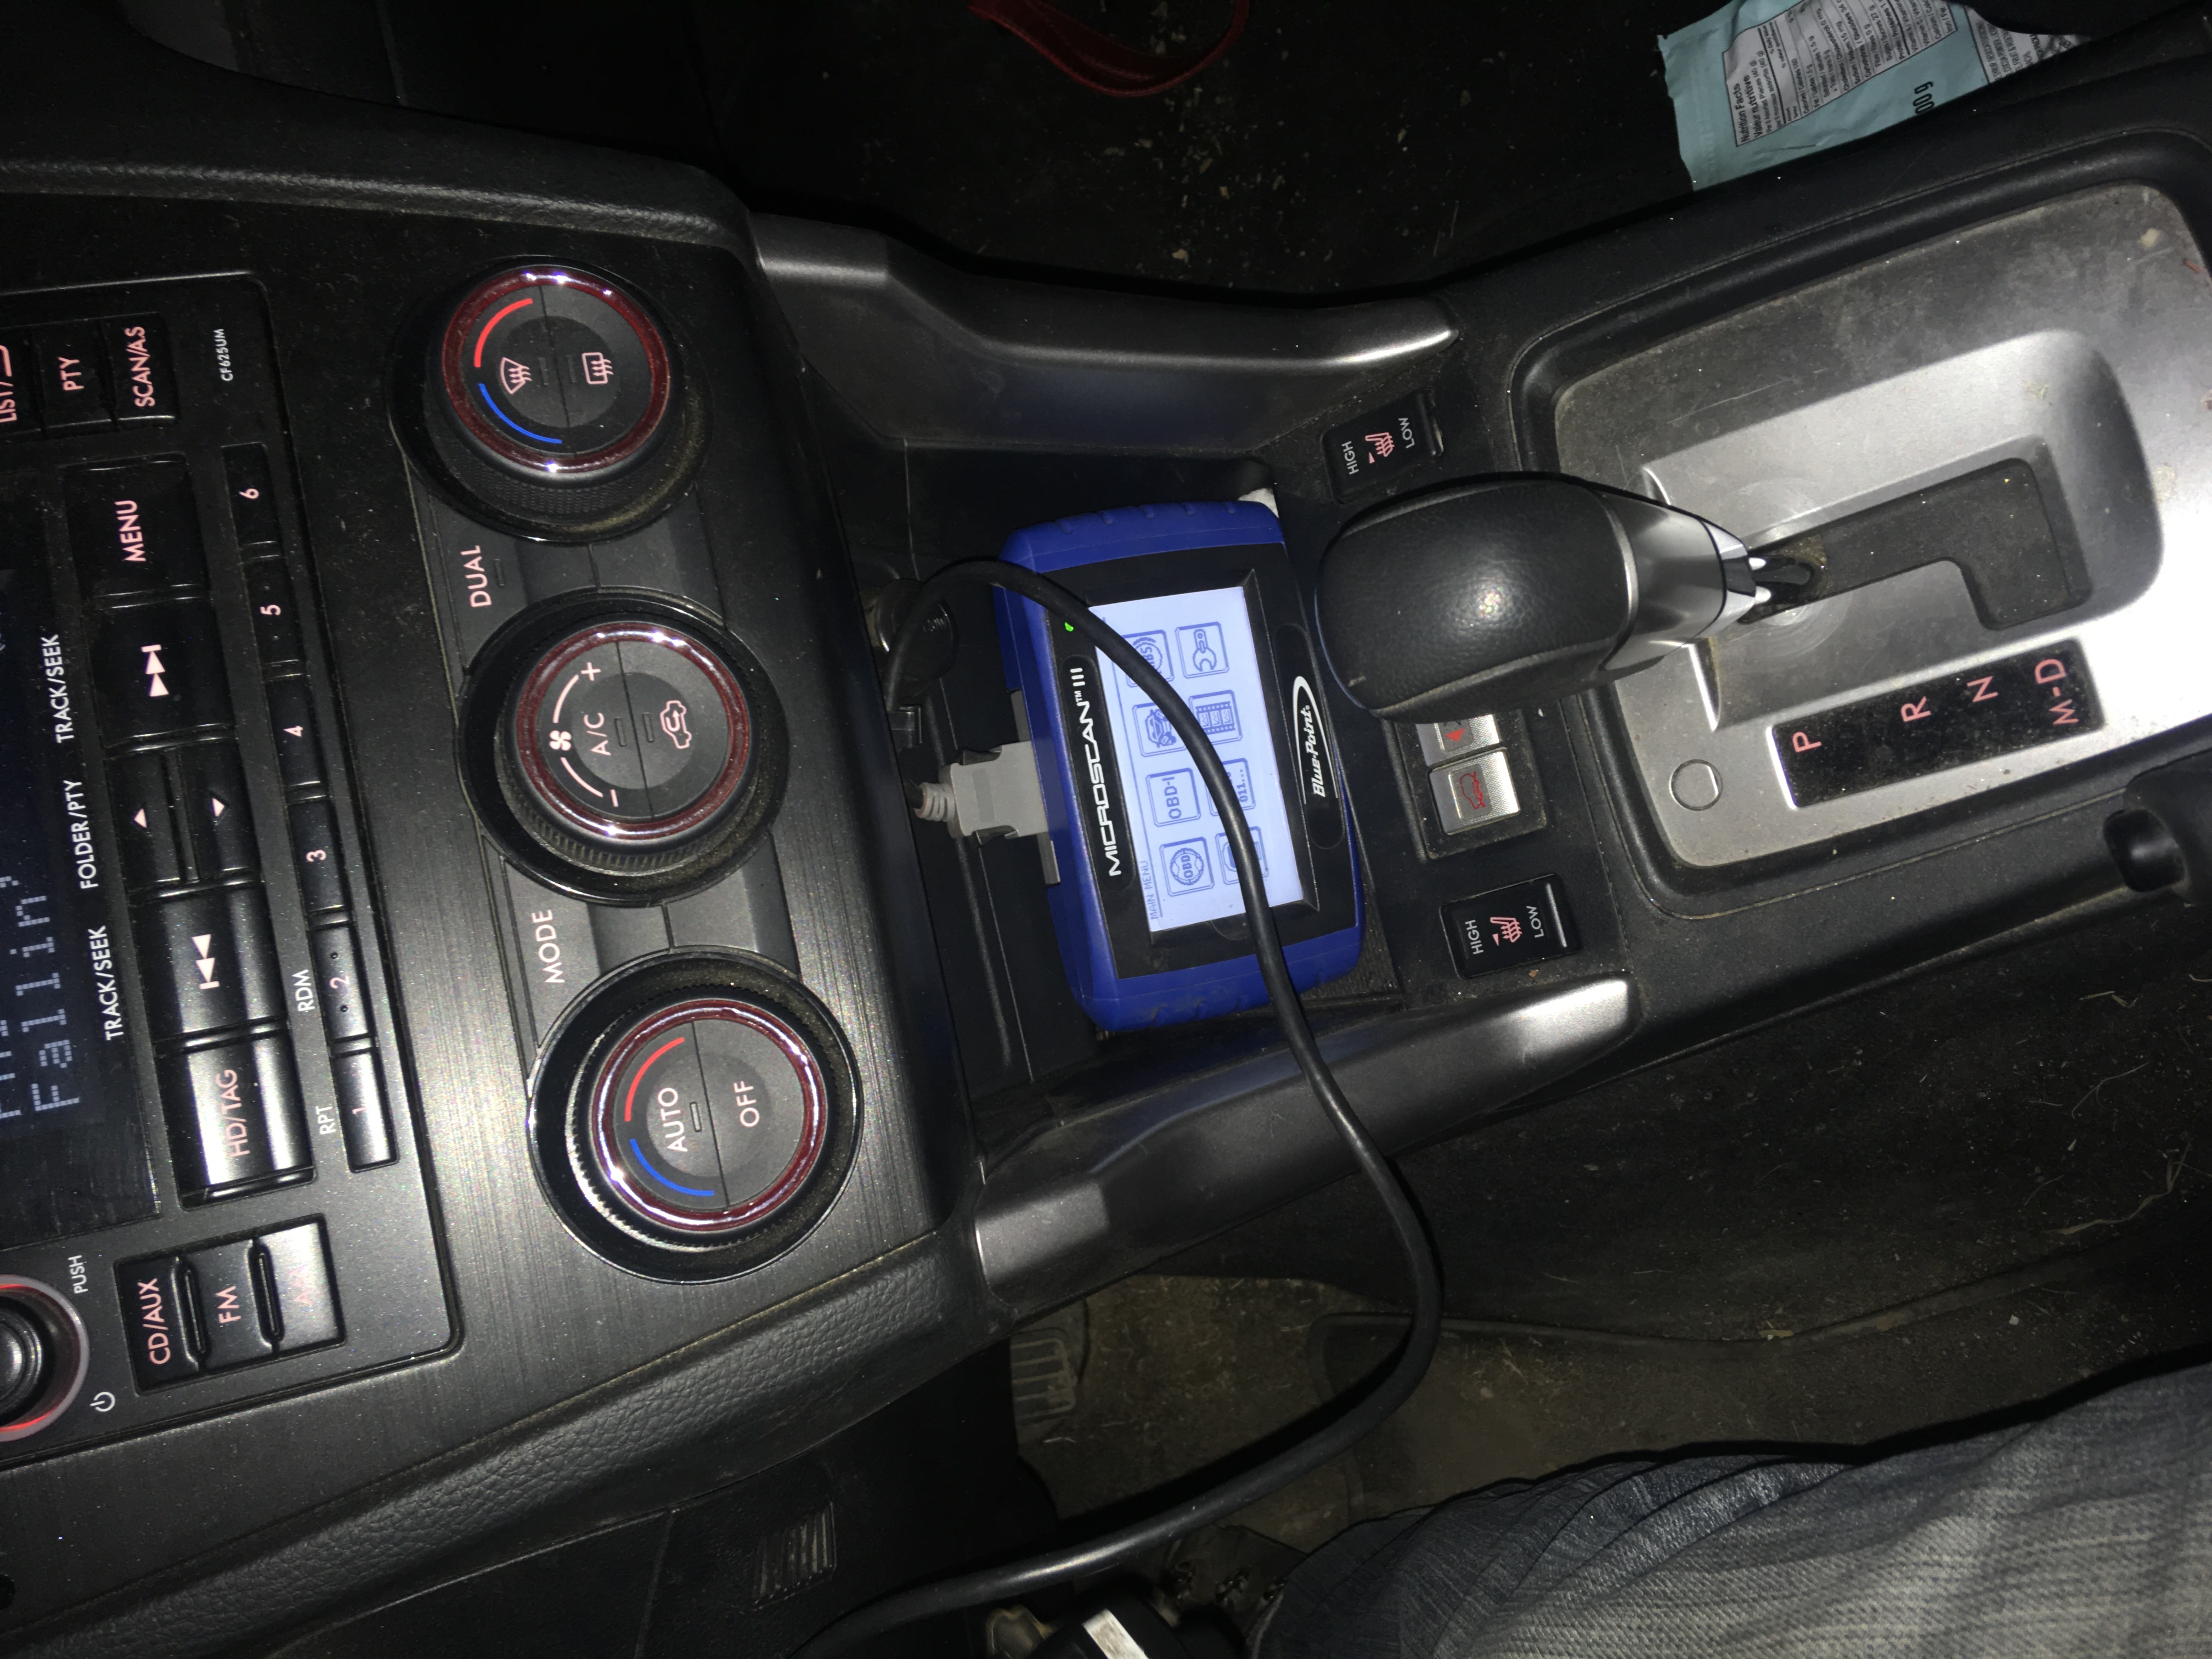
It does suck up dirt and it plugs the filter which will set off a P0440 error code. Actually, it will set it off so often that the scanner had a permanent home in the car. Yes, even Mrs DM learned to reset the DCT (while I was driving) without looking at the screen even once, on her own, she was stopping twice or three times in a round trip to reset it.
Wait, it gets better....
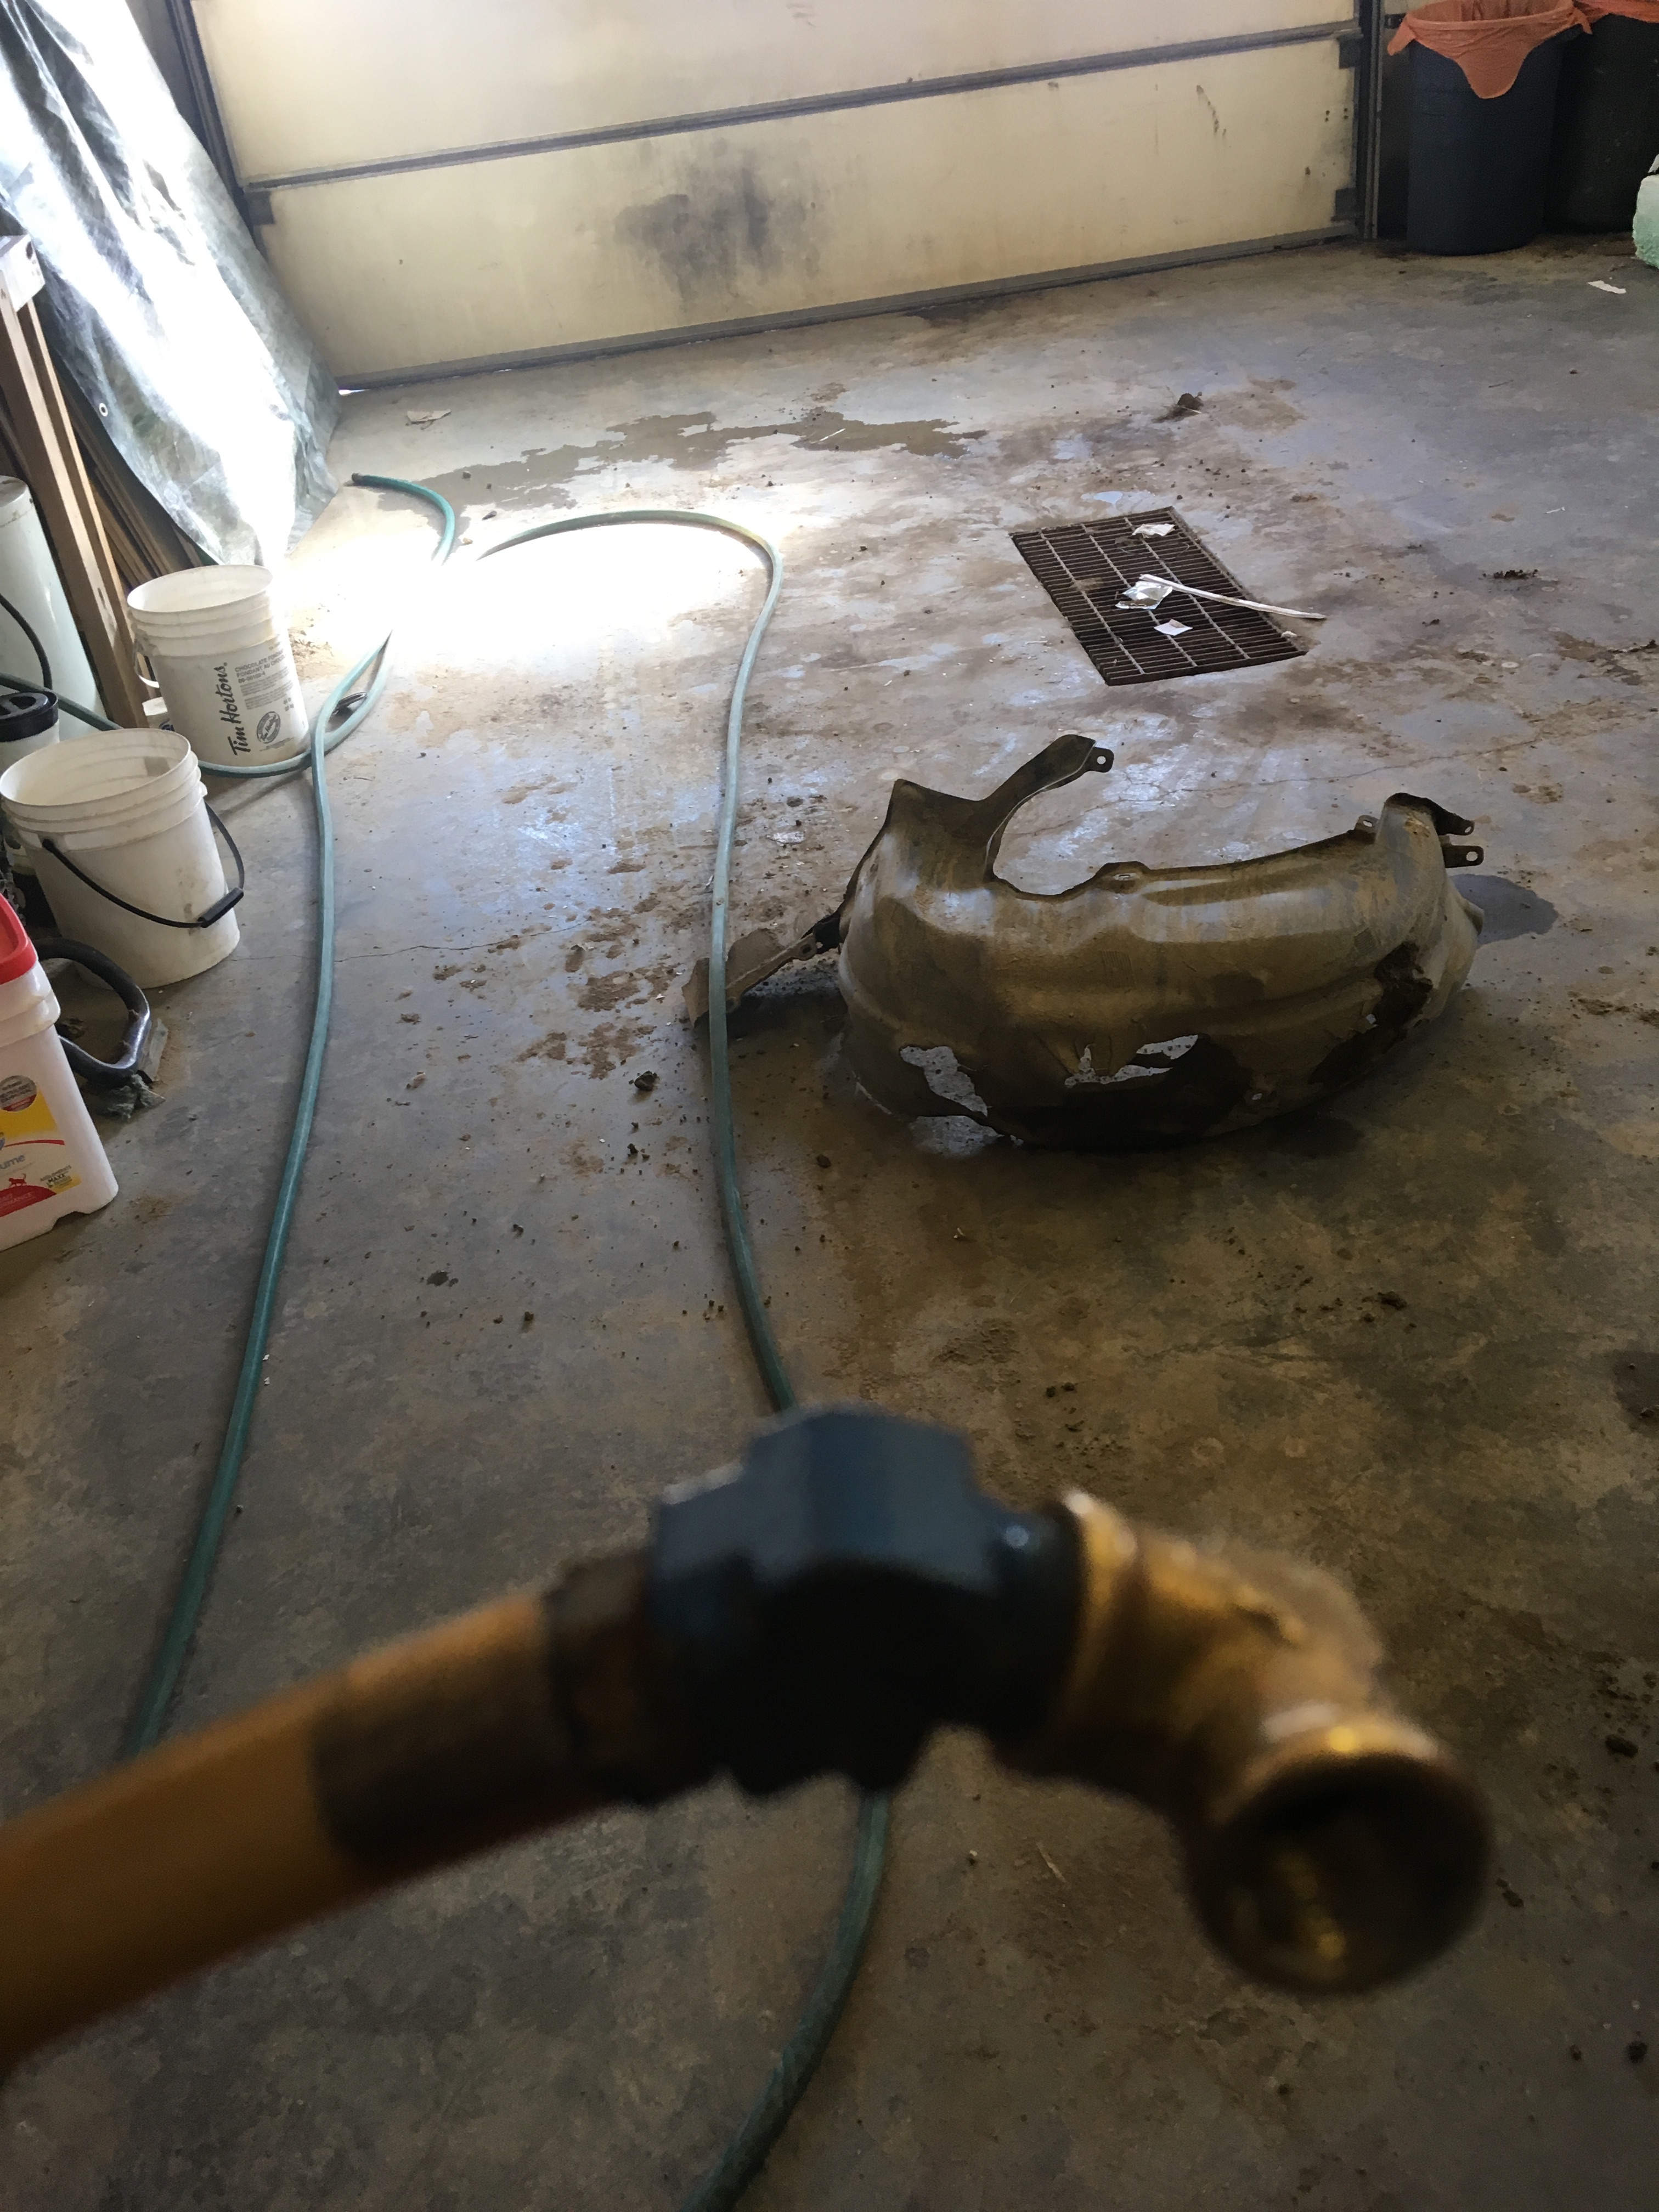
In order to replace the filter in question you must remove the rear diff. Yeh, about 3 hours work!
Oh wait.... did I mention.... you can't buy the filter. You have to buy the entire assembly....42084FJ000 over $300.00 Canadian!
'So what wizardry did you use this time Delusional Mechanic' you ask??? -
First, remove the inner fender and create a fitting.
These pics make it look nice and roomy, but it was all done through the hole from the filler neck.
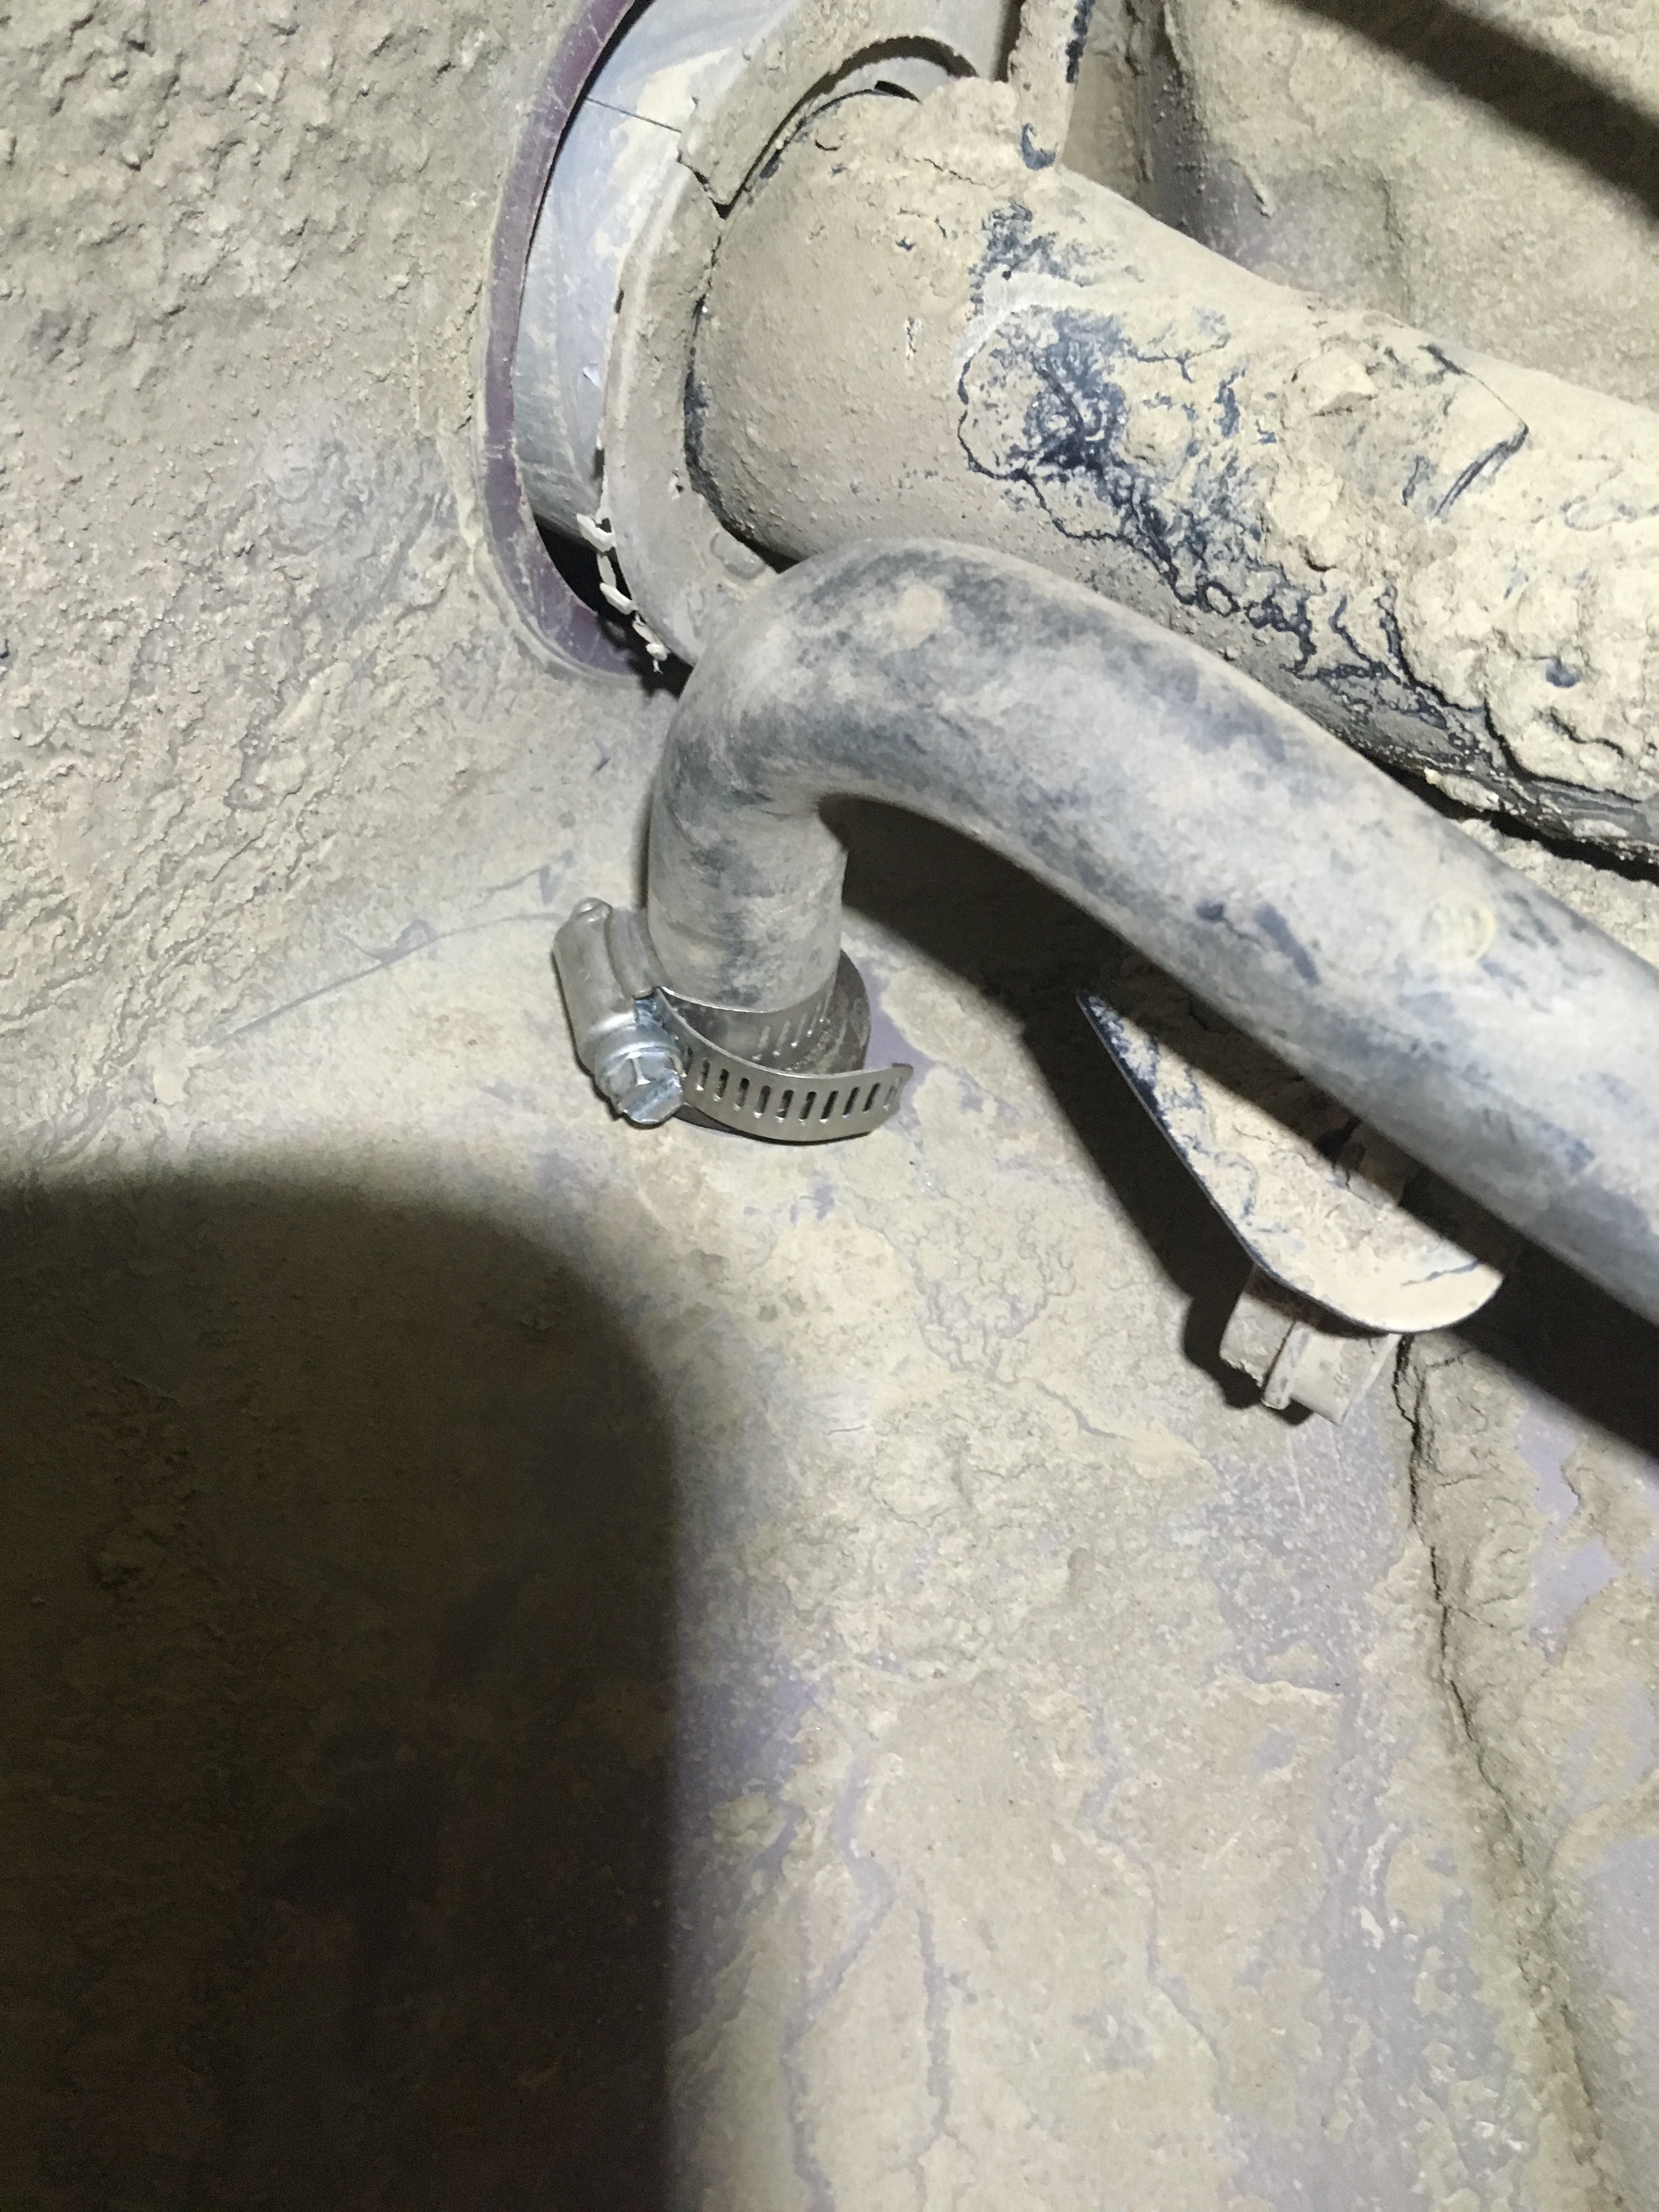
These two pics show where I drilled a hole in the inner body and route the fitting.
Dirty side
 Clean side
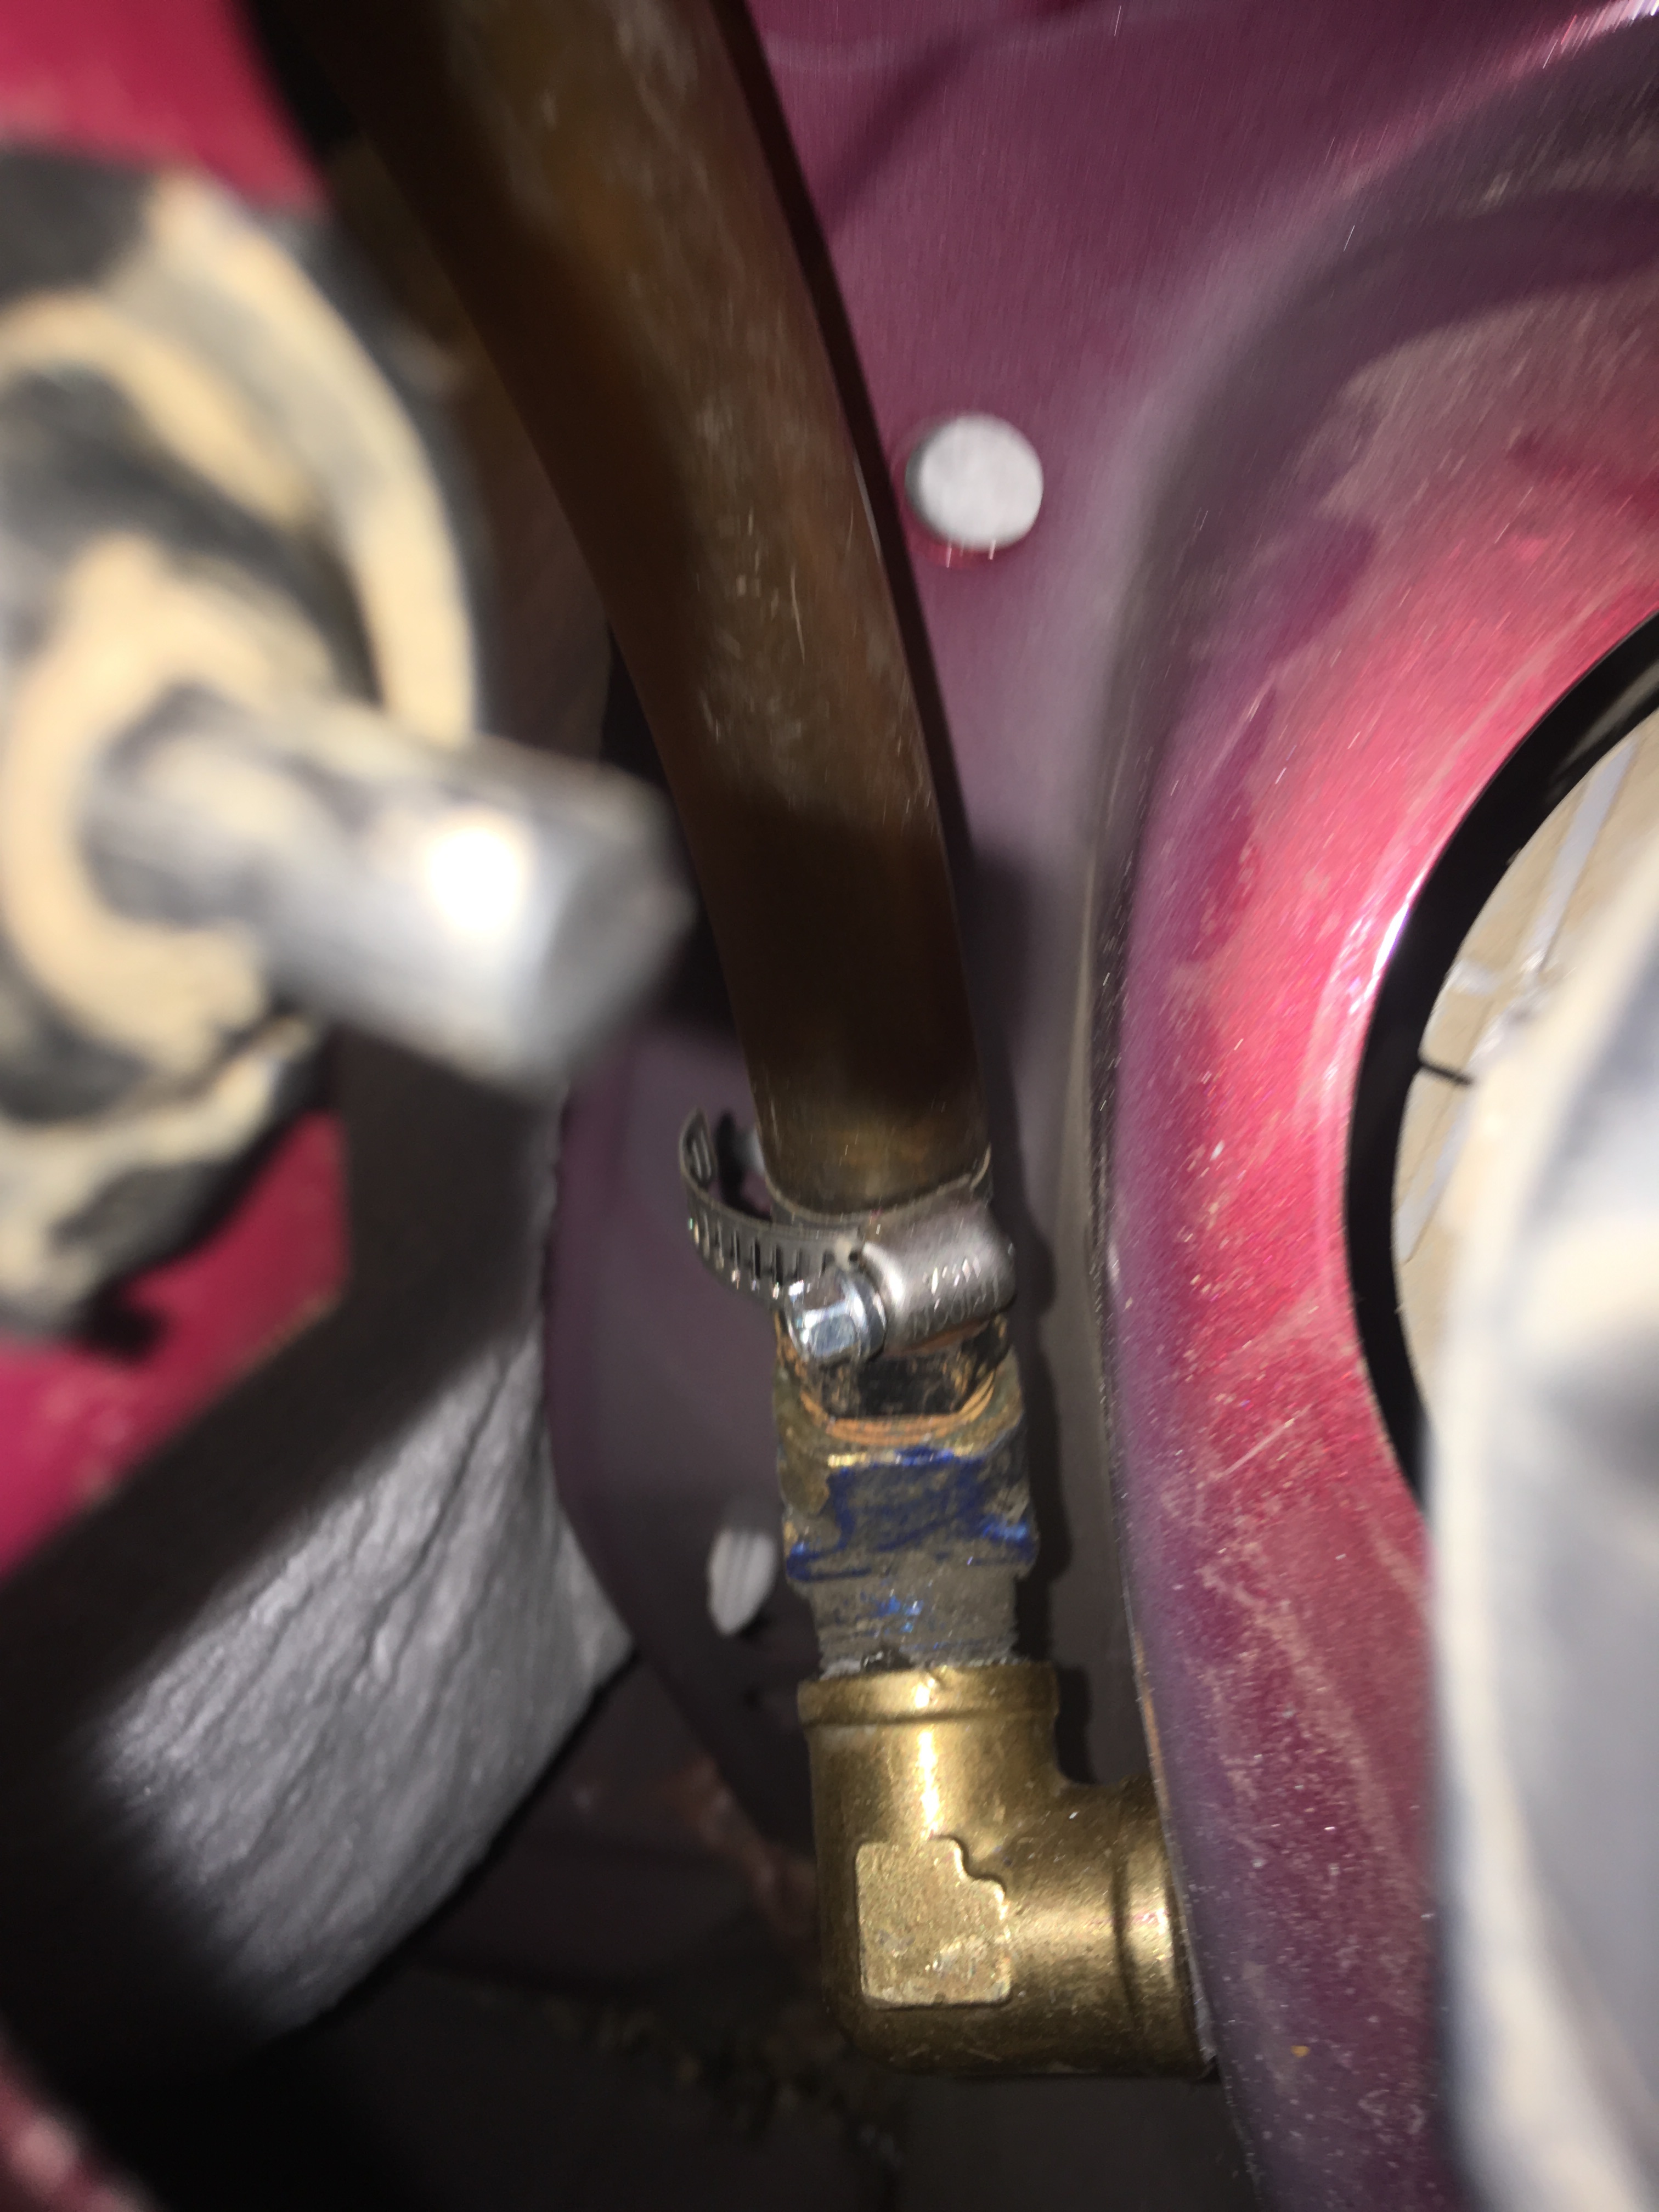
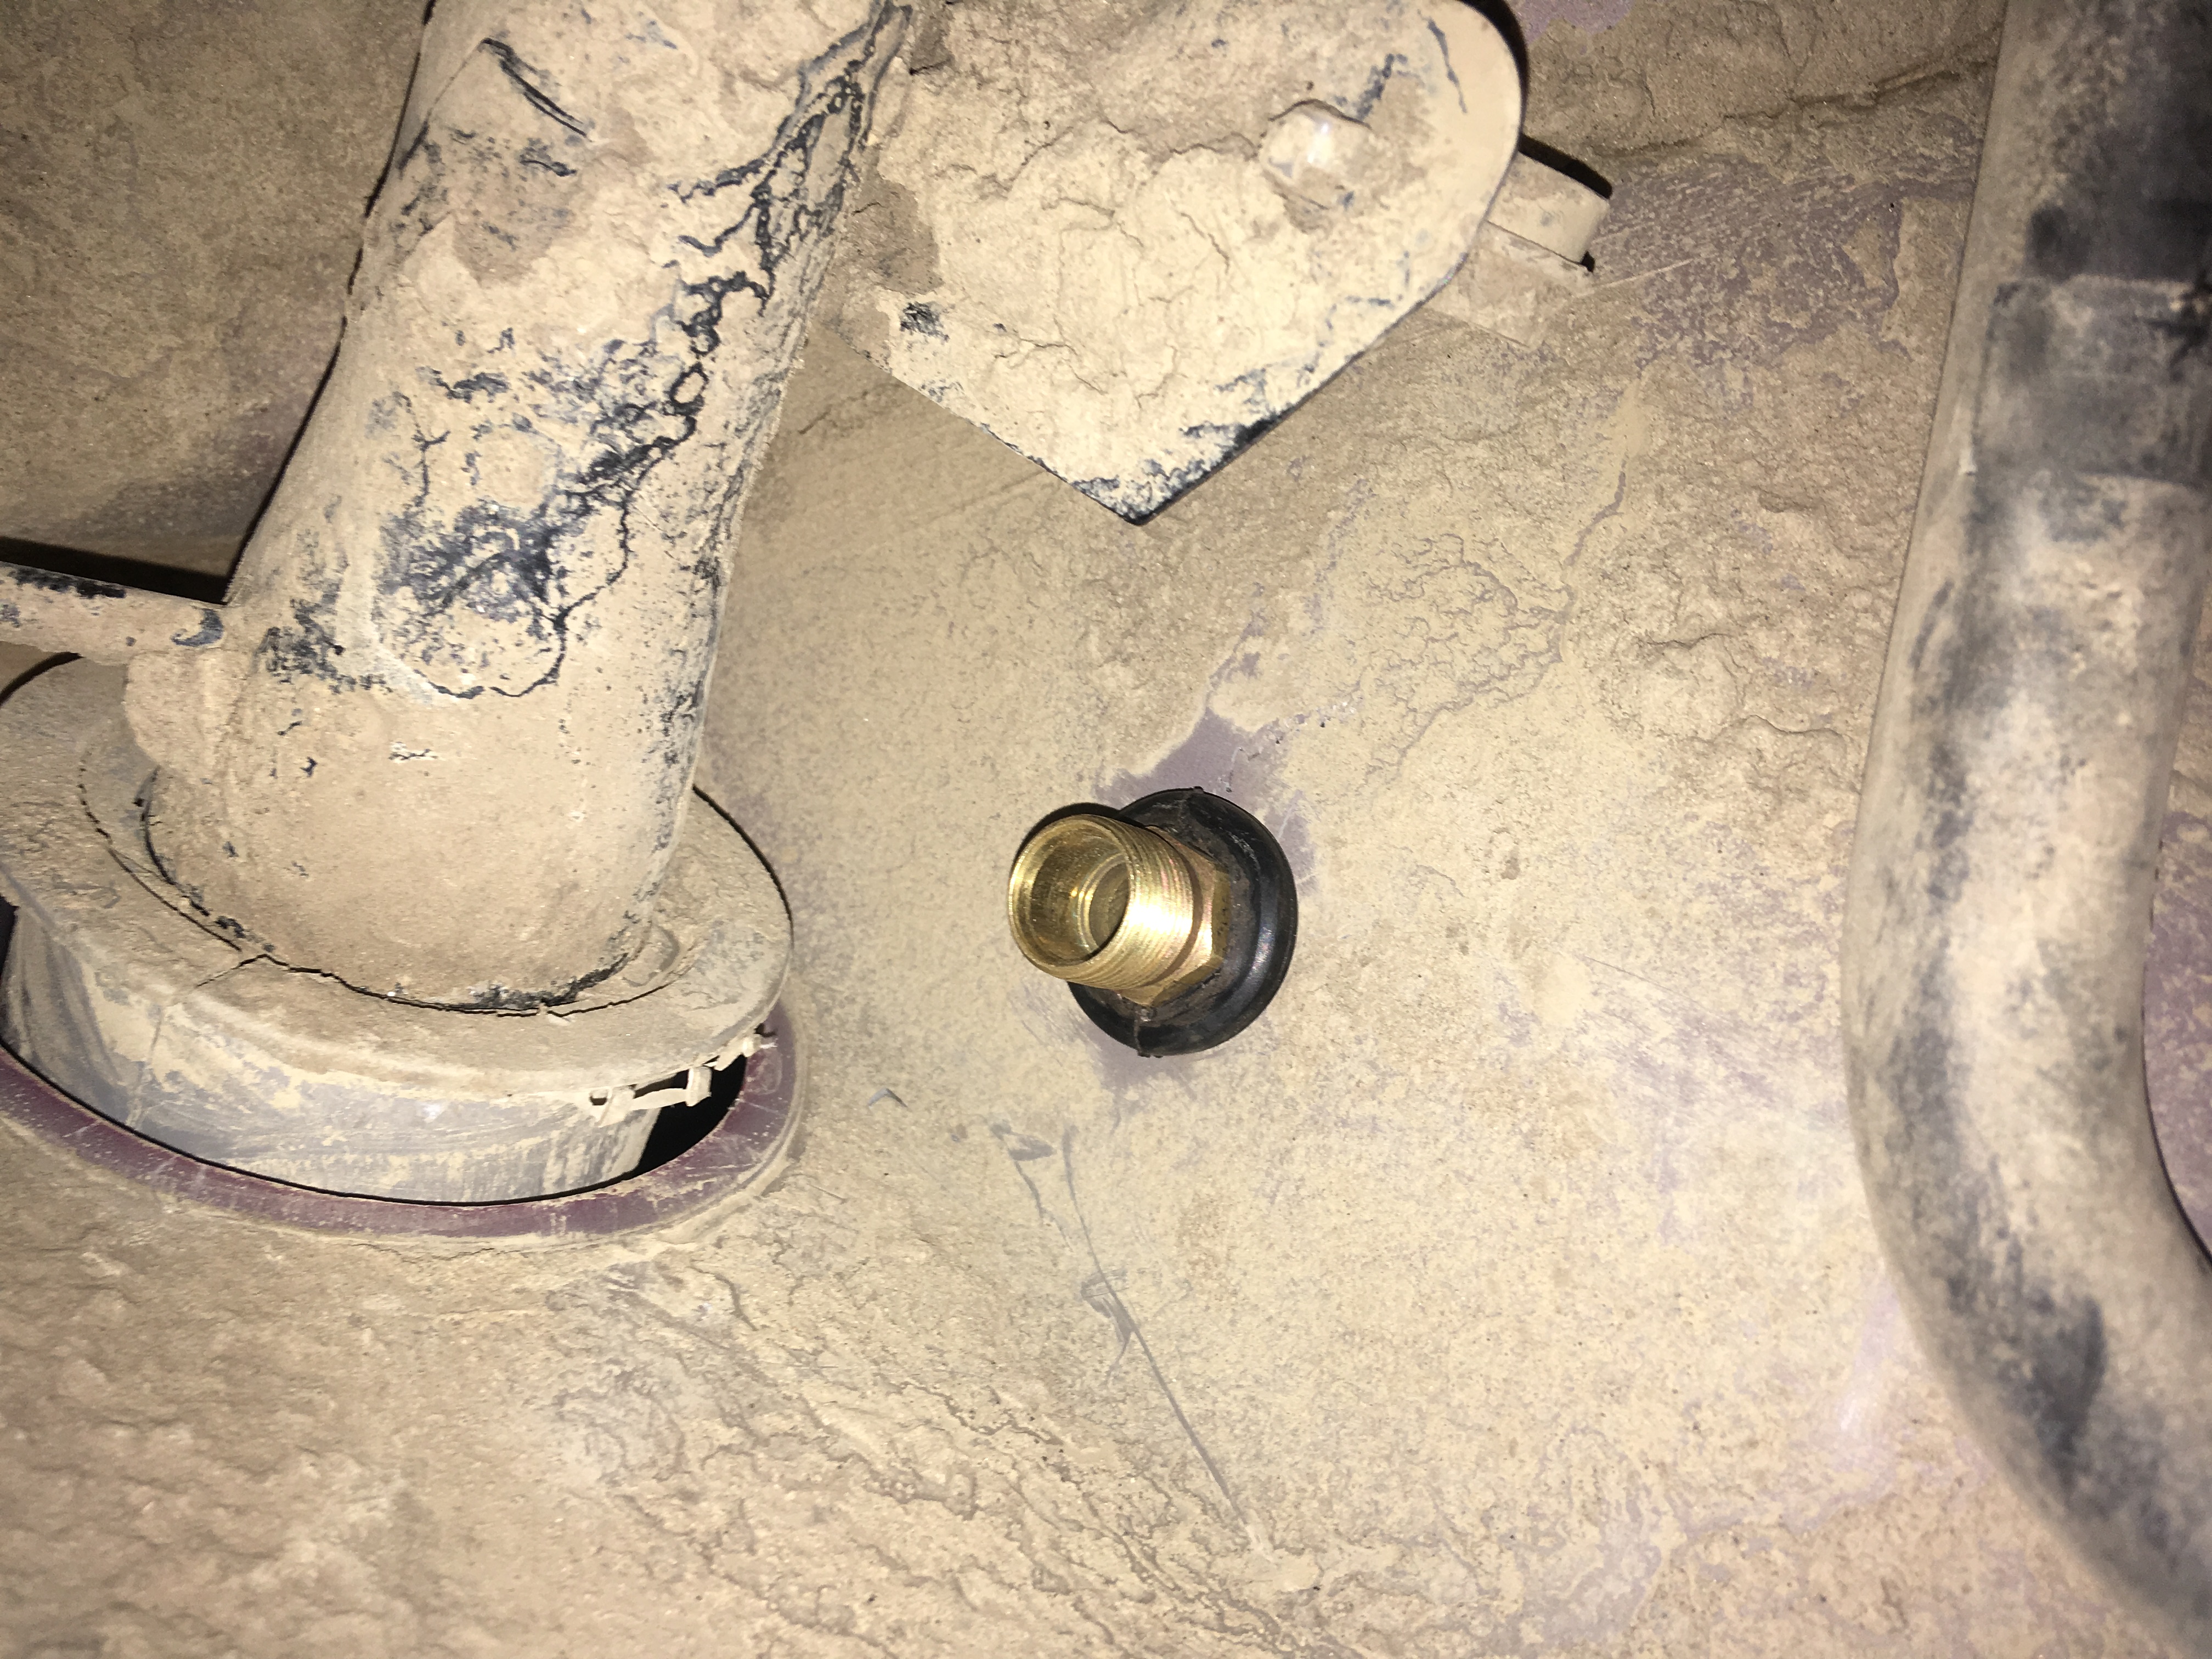
I found a nice grommet to help seal the improvised bulkhead connector.
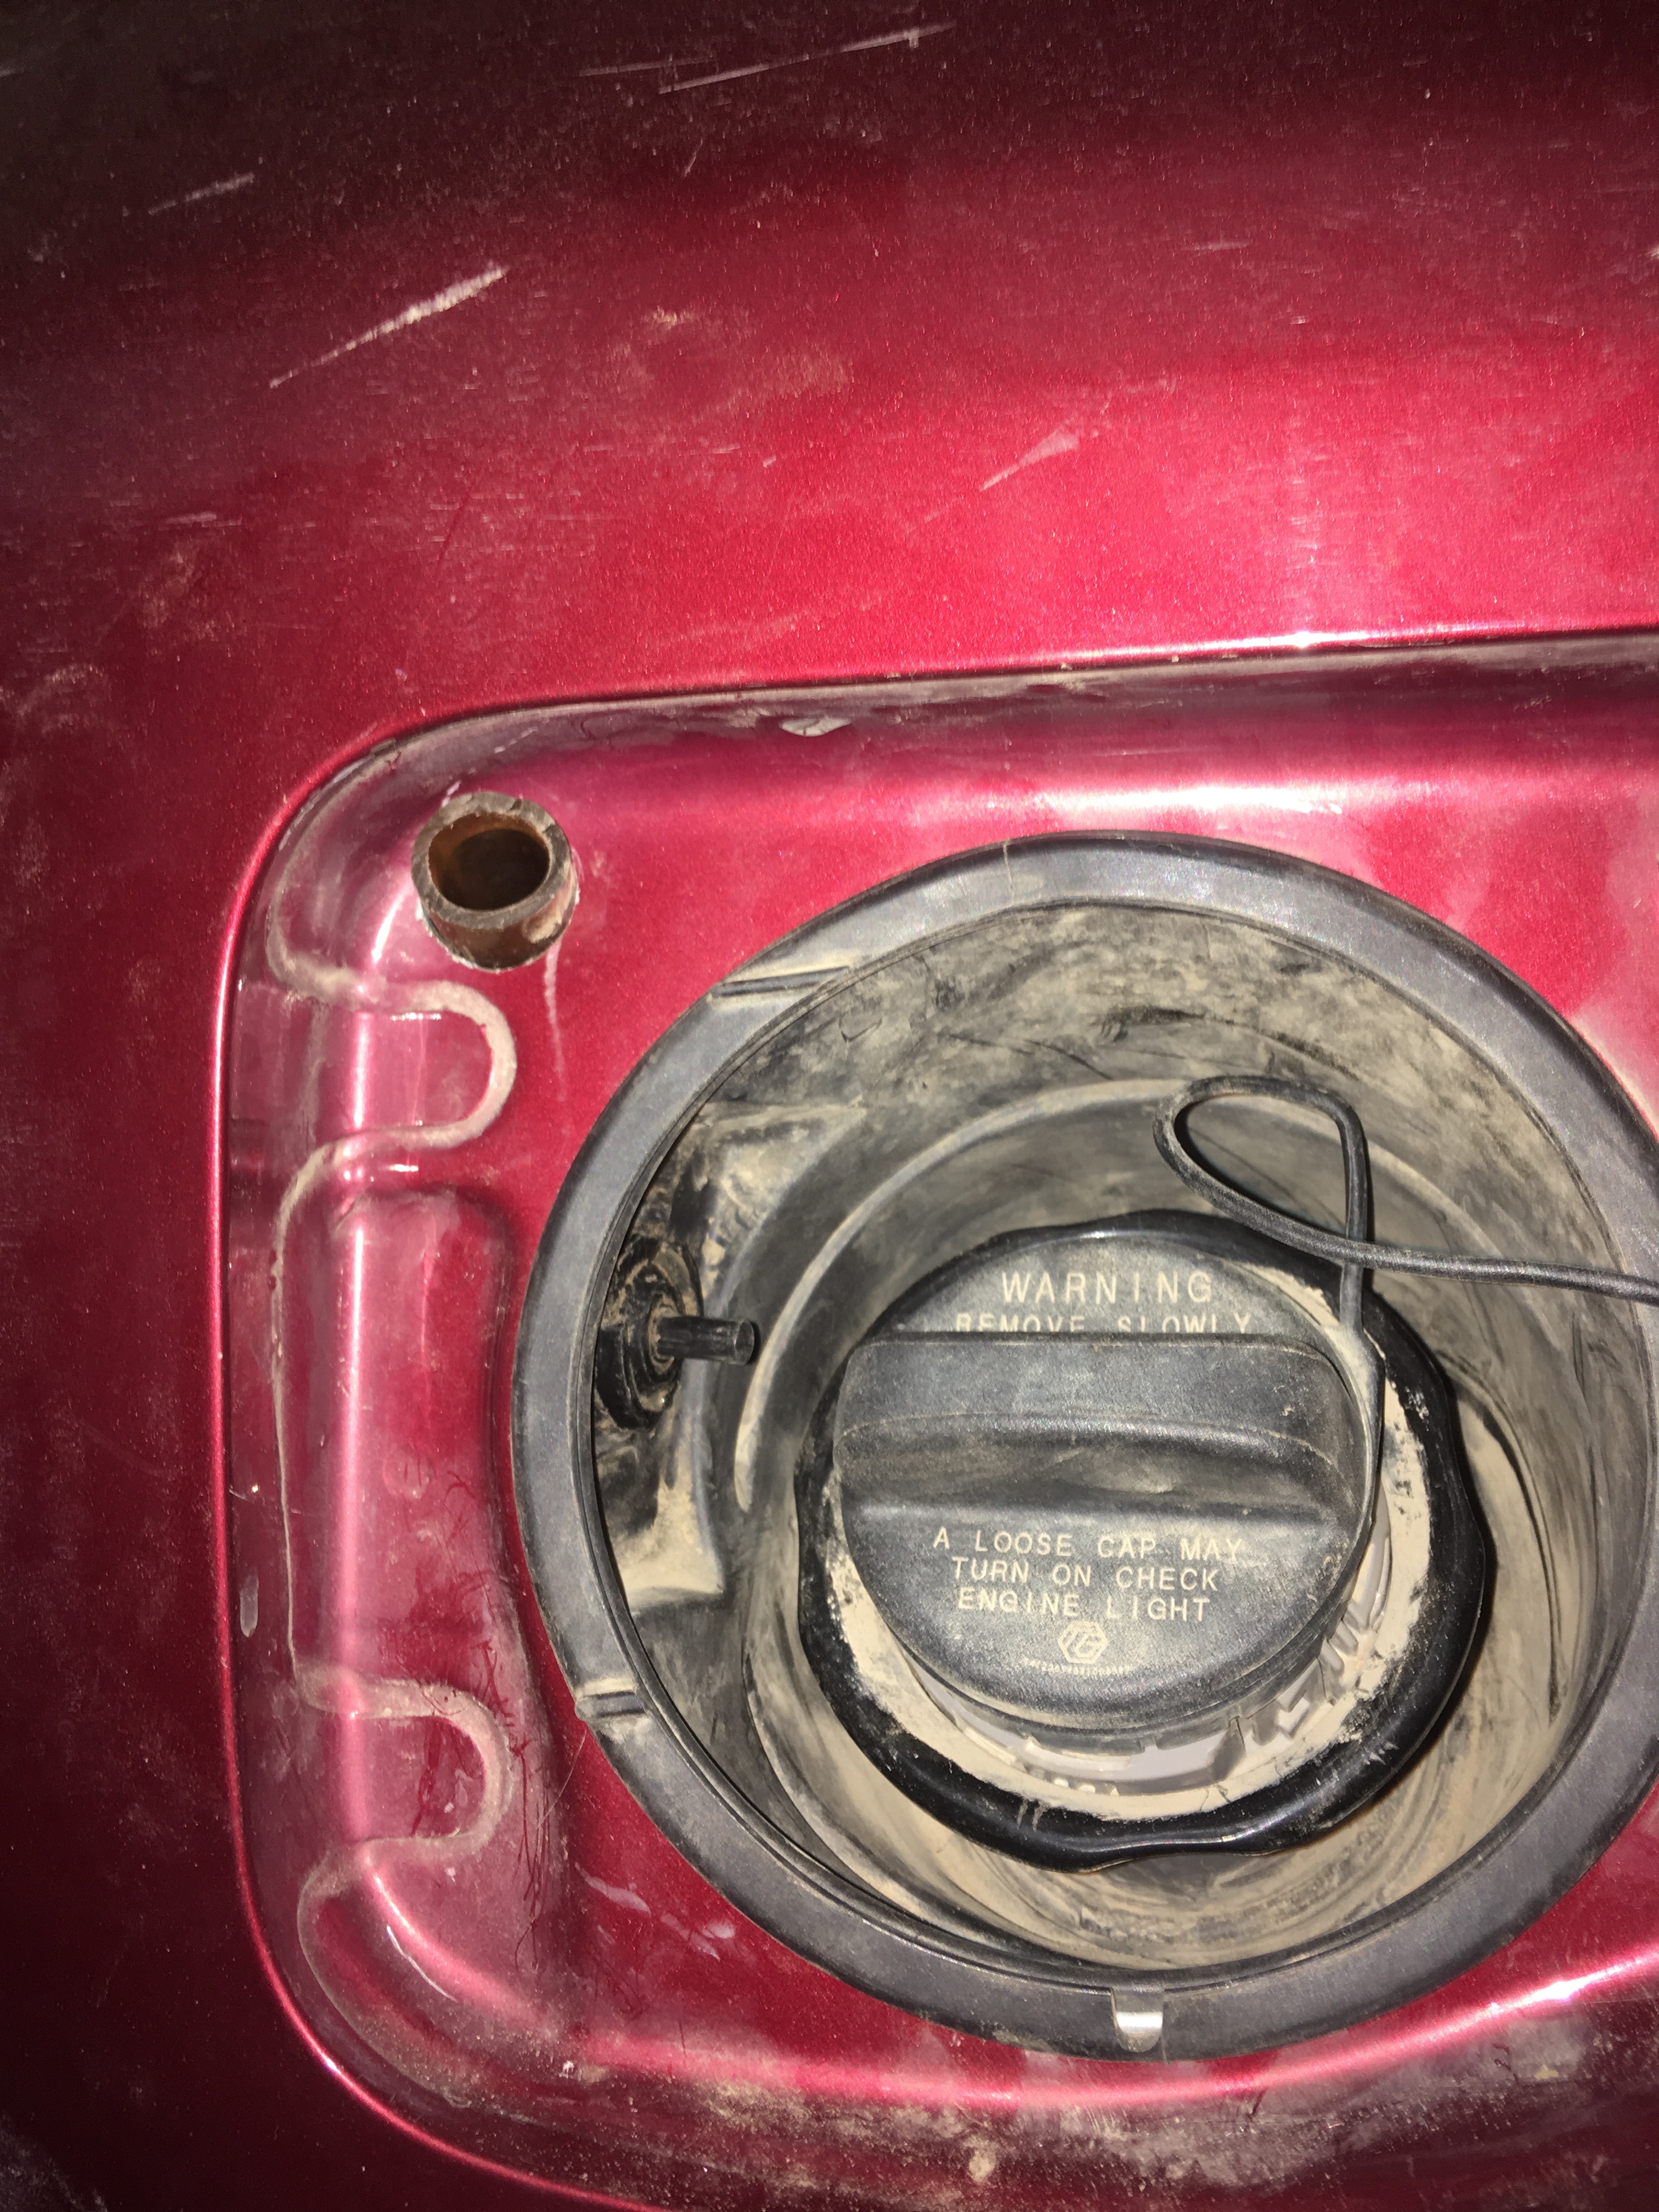
Connect the existing vent hose to the new fitting.
The evaporative emmisions hose now vents under the filler lid, the wife says no extra stink is noticed, and believe me, she would tell me.
 .
.So now I need to fix the fenders. The missus did a fair amount of windowshopping(aka research) finding a BBQ matting at the local hardware that met my discerning criteria very durable(only gonna do this once) flexible(I'm long on patience but there's limits) and Arctic Winter Blast resistant (thanks Alberta for upping the game). It was then glued to the liners.... or as I realised as I was in glueup the remaining fragments we called the old liners.
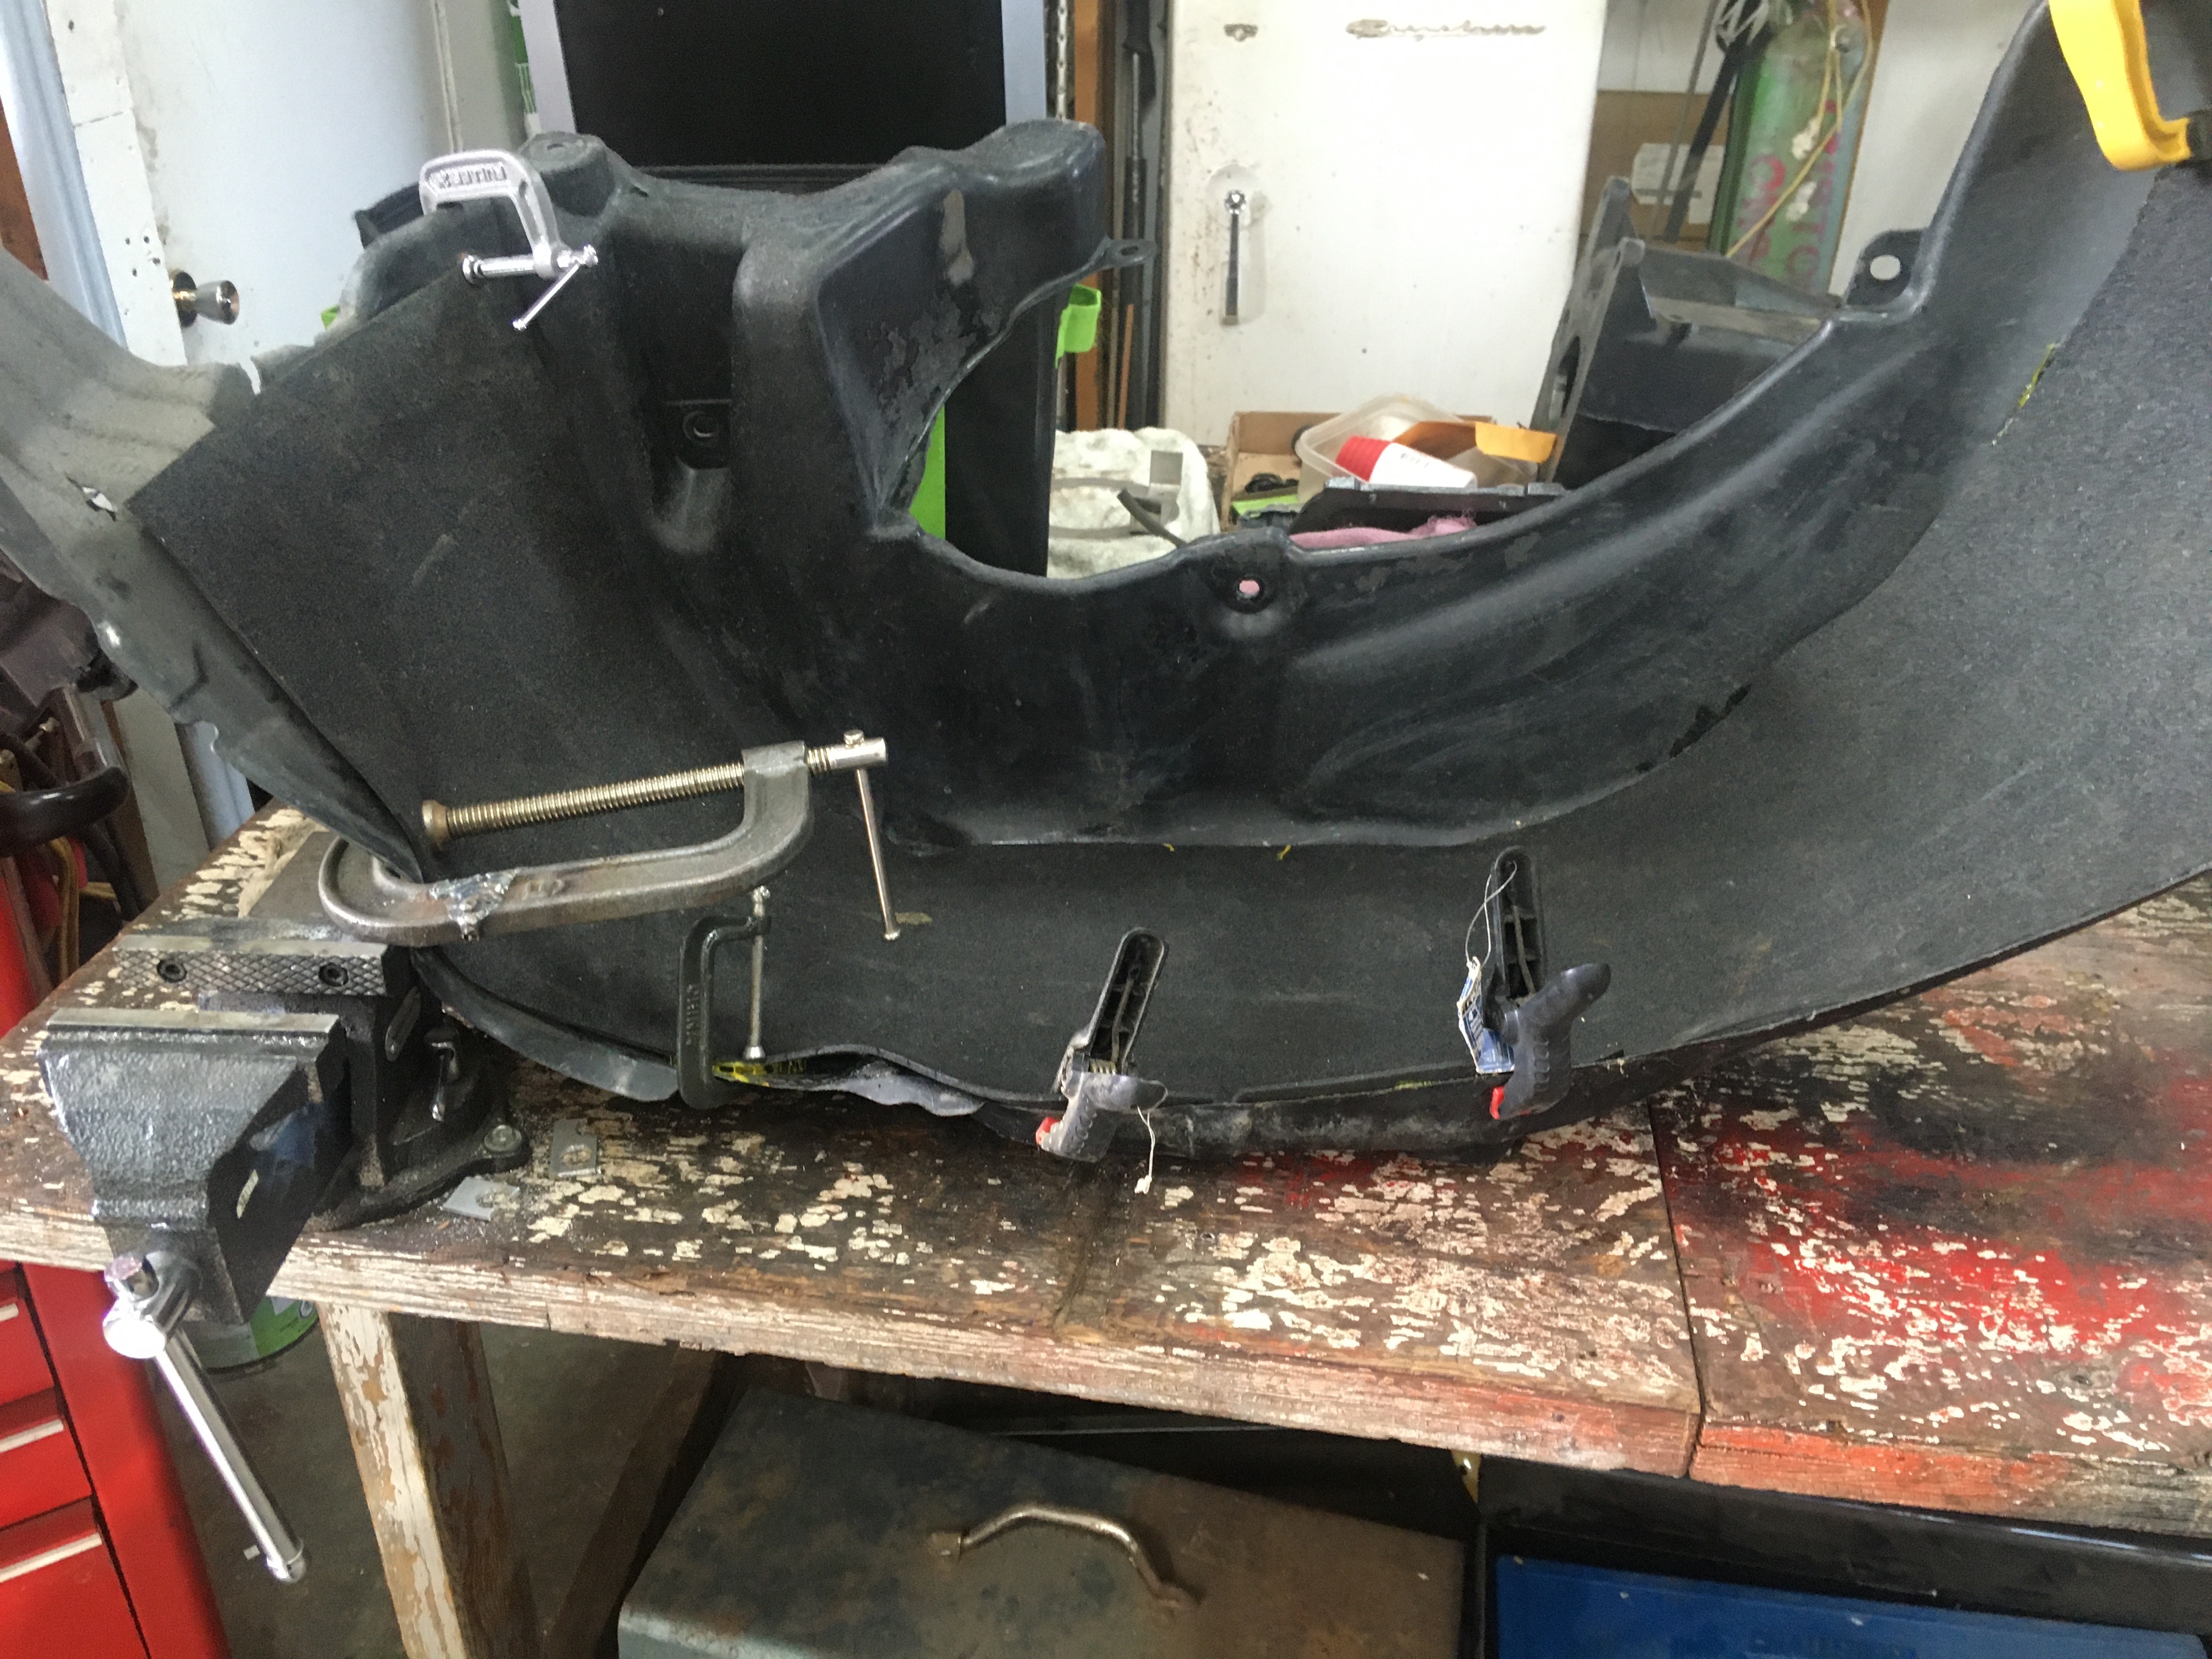 They were then screwed and pinned any where I could. Also a bracket was made to support the center.
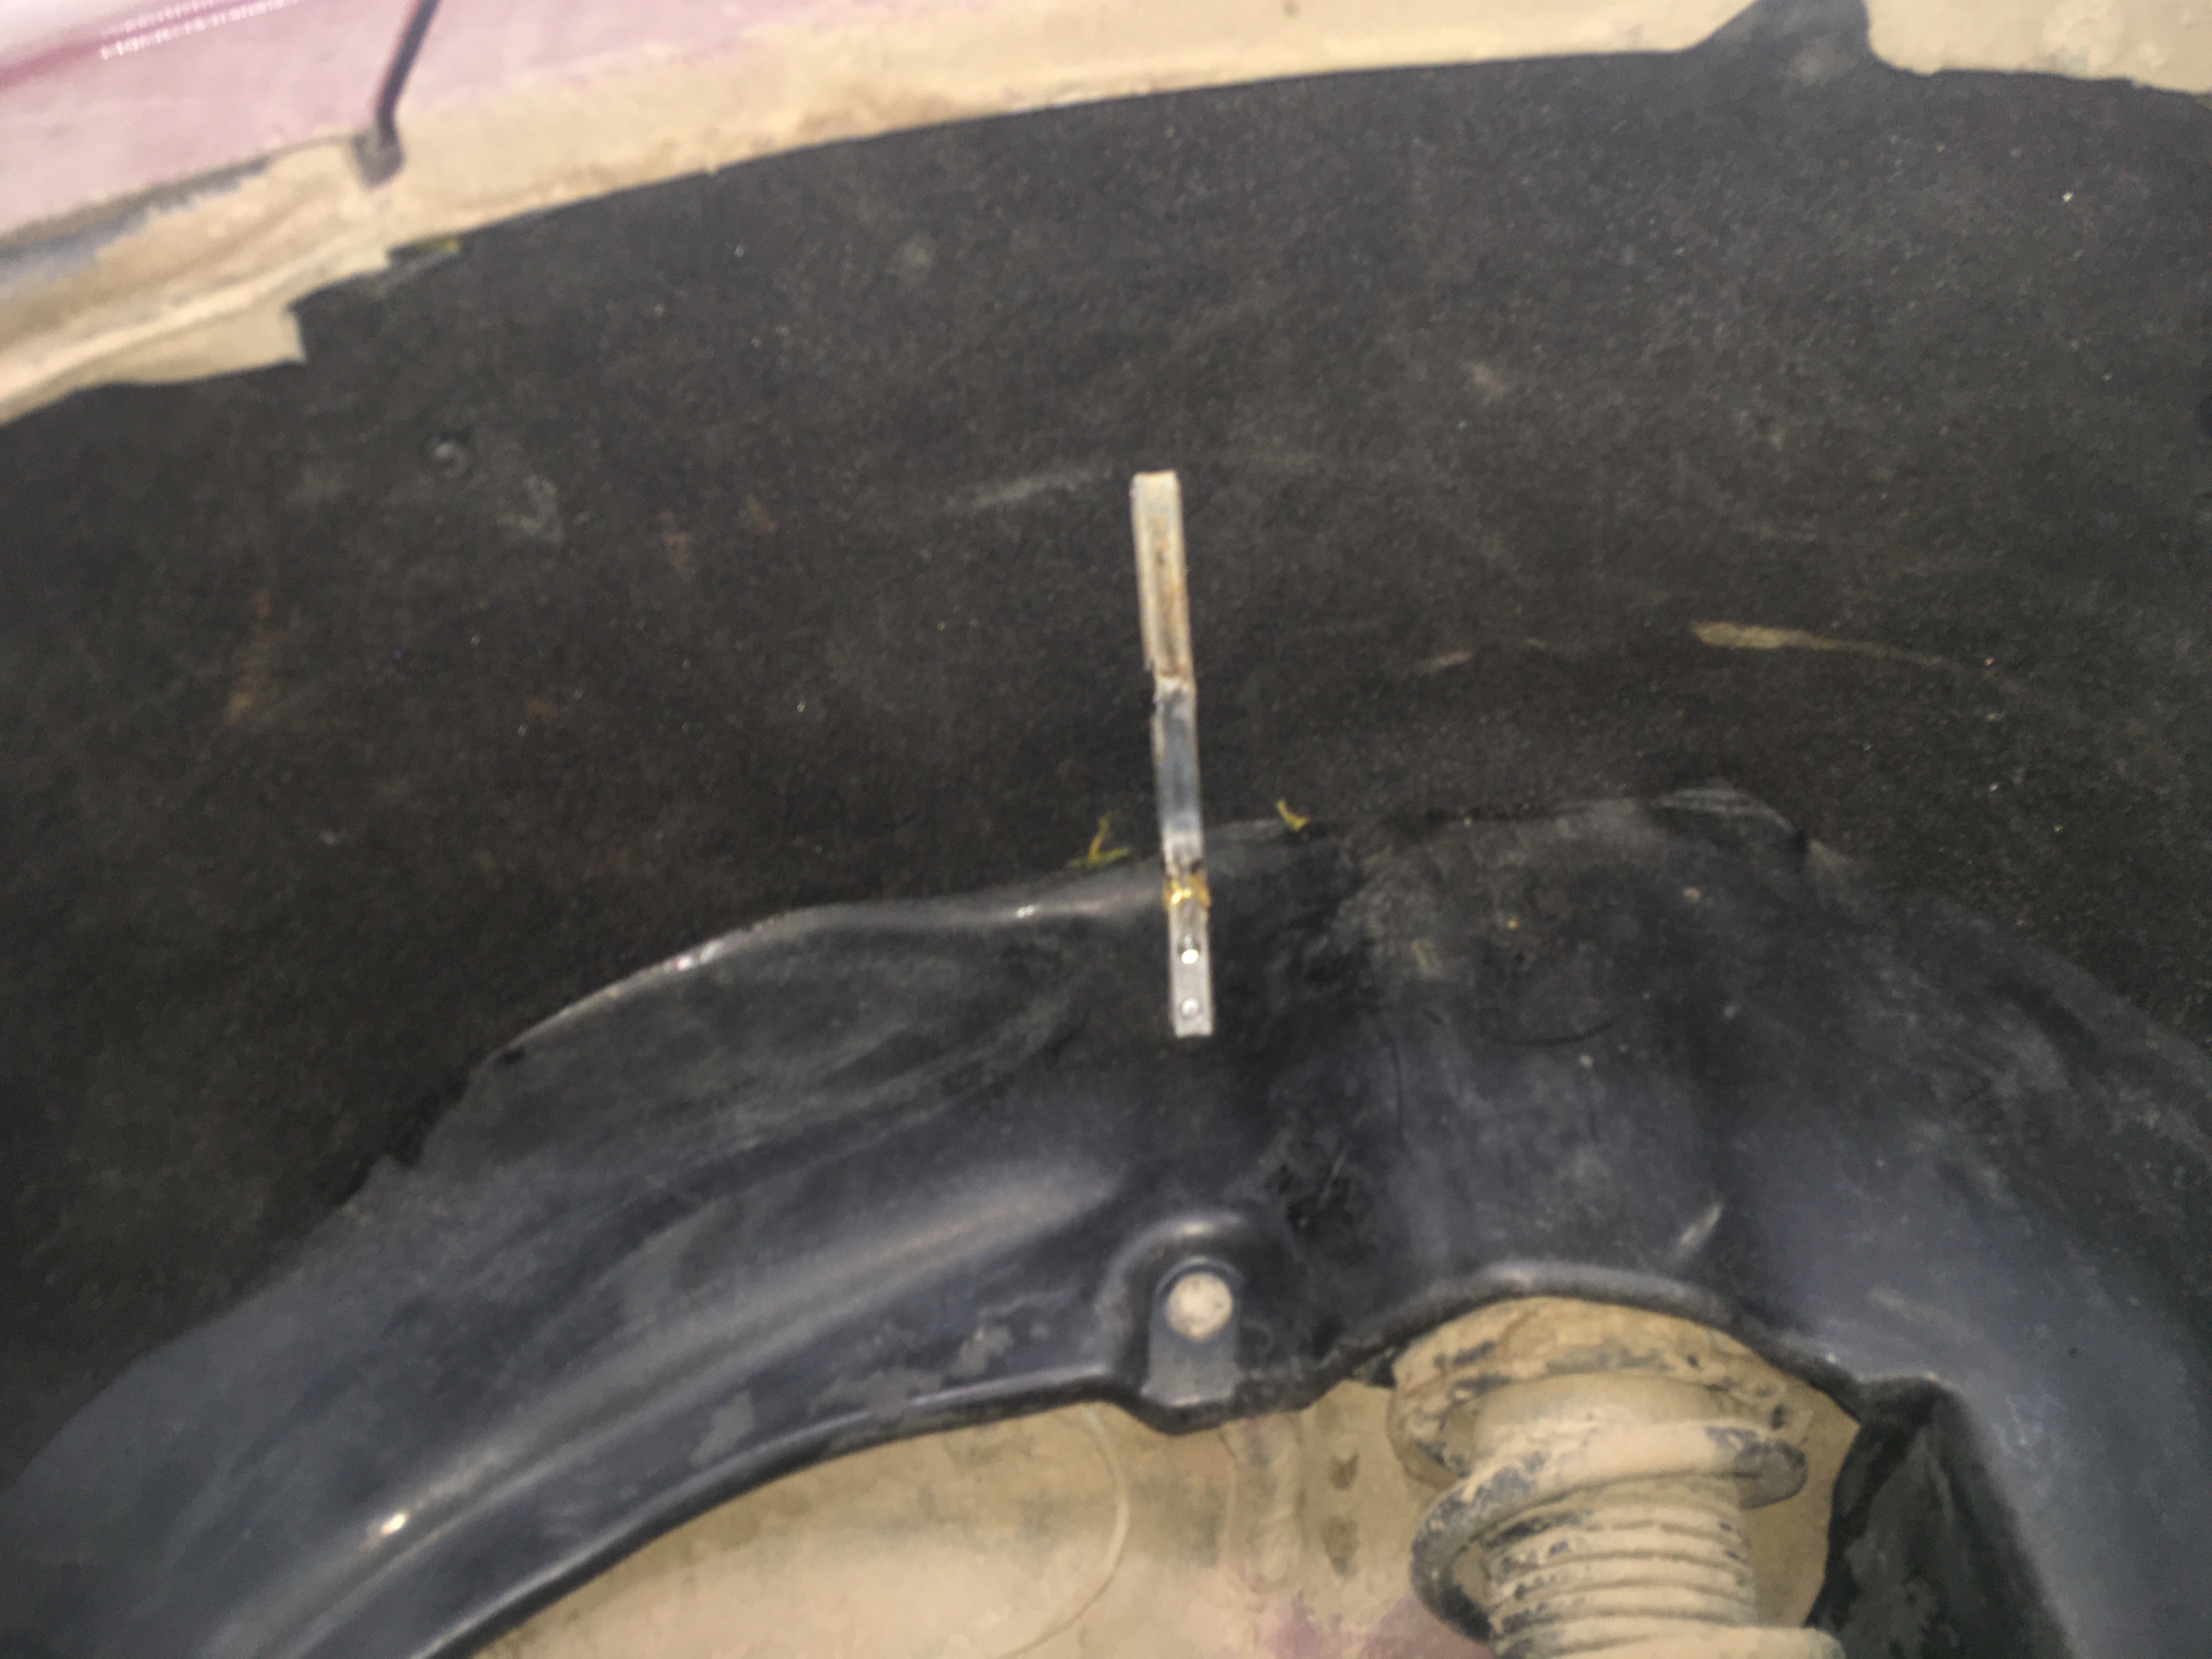 .
.I hope I don't have to pull these out any time soon.

 Home.
Home.